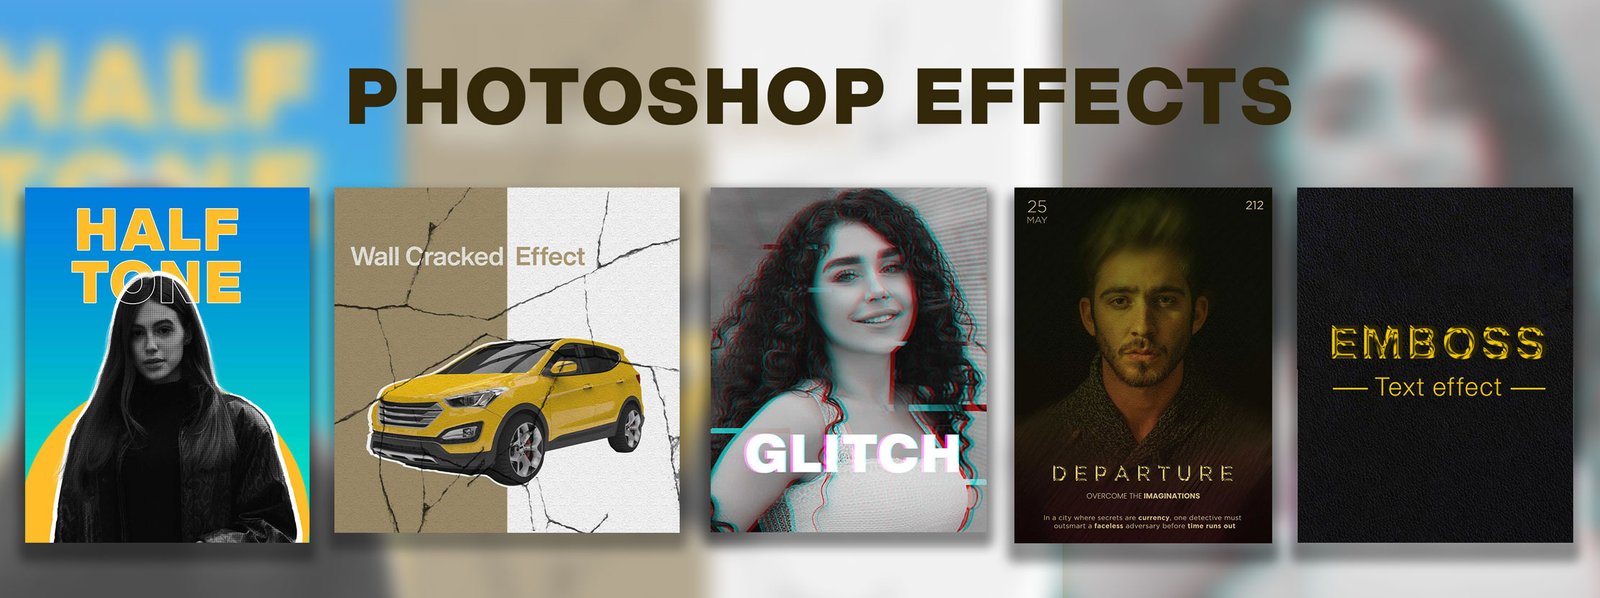
5 amazing Photoshop effects
Learning Photoshop provides a significant advantage as it offers professional tools to streamline your creative process. Photoshop is a widely used industry-standard software for creating complex and professional designs. It is an all-in-one tool for photo editing, color grading, graphic design, and photo manipulation. In this post, we’ll explore five amazing Photoshop tutorials to help you take your creativity to the next level, even if you’re just starting.
Each tutorial is designed to introduce you to Photoshop techniques, ensuring you gain practical skills to apply to your projects. From creating stunning glass effects to mastering the pop art style, these tutorials cover a range of essential skills. Let’s dive in!
Create wall-cracked Photoshop effects.
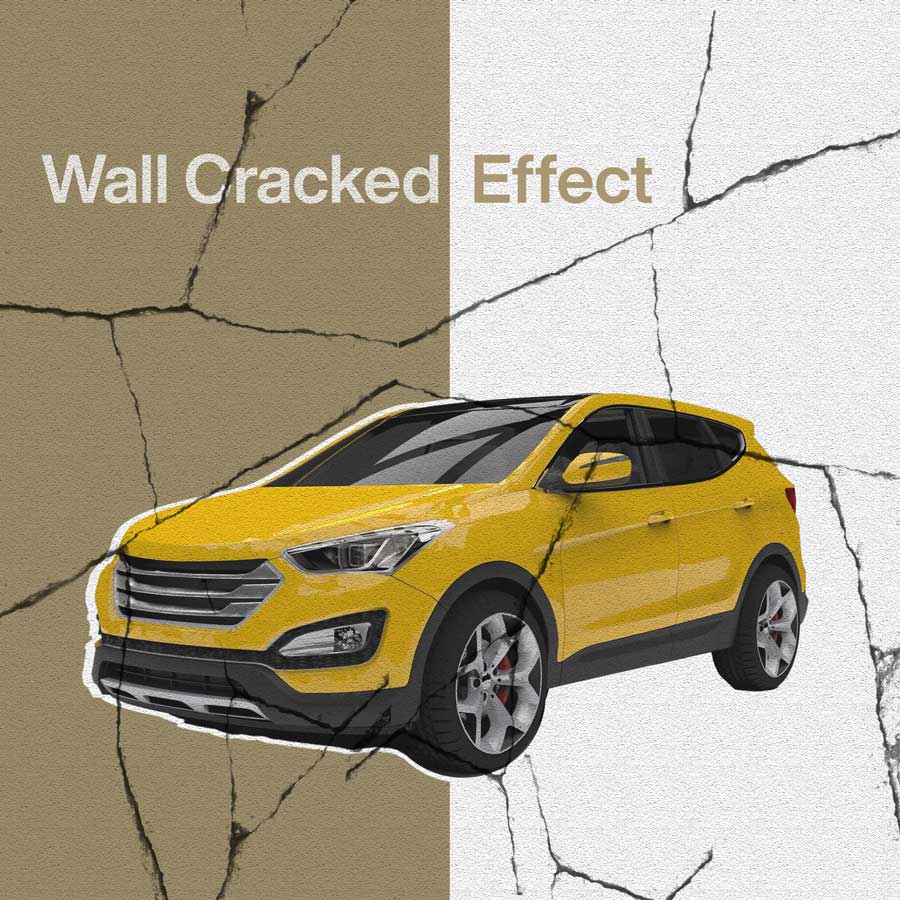
Step 1: Take the artboard of Instagram size 1080px x 1080px. Download the crack brush then go to the brush tool and right-click to find the free cracks Photoshop brushes 4. Now create a new layer and paint a crack brush on it then convert the layer into a smart object.


*Note: Smart objects can help to resize, rotate, and transform the image without losing quality. Filters applied to smart objects remain editable. You can adjust, remove, or change filter settings anytime.
Step 2. Create a white solid color layer under ‘create new adjustment layers’. Right-click on the solid color layer and convert it into a smart object.


Step 3. Select the solid color layer, then go to Filter Gallery options on top and find the Texturizer under Texture.


Step 4. Set the texture to sandstone, the scaling to ‘124’, and the relief to ’12’, and then hit ‘ok’.

Step 5. Change the blending mode to multiply. Now you will notice the cracks on the concrete wall.


Step 6. Now click on the rectangle tool and draw a rectangle (you can use your desired color). Change its blending mode to Multiply.

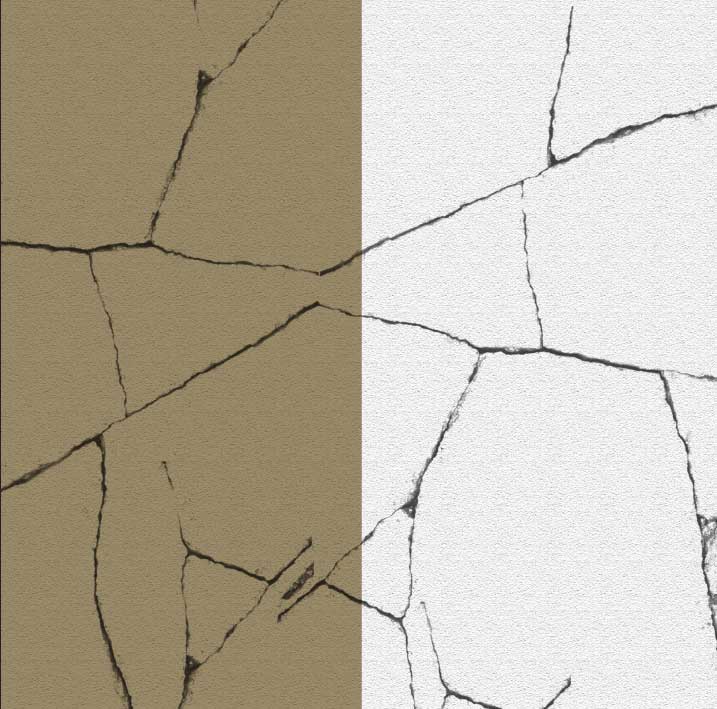
Step 7. Drag and drop the car image and extract the selection using the quick selection tool. Change its opacity to 90% and use blending mode to multiply. Now you will notice the effect also applies to the rectangle layer.

Step 8. To fix that, click on the car layer and press ‘alt+ add a layer mask’ to reveal the car image. Reduce the size of a car to create an outline effect. Now place the text and double-click on the text layer for blending options.


Final Step. Copy the Cracks layer, place it on top, and set the opacity to 77% to give it a more realistic look.
Note* You can apply the same method for text effect.
Filmy acid motion blur effect- Photoshop effects.

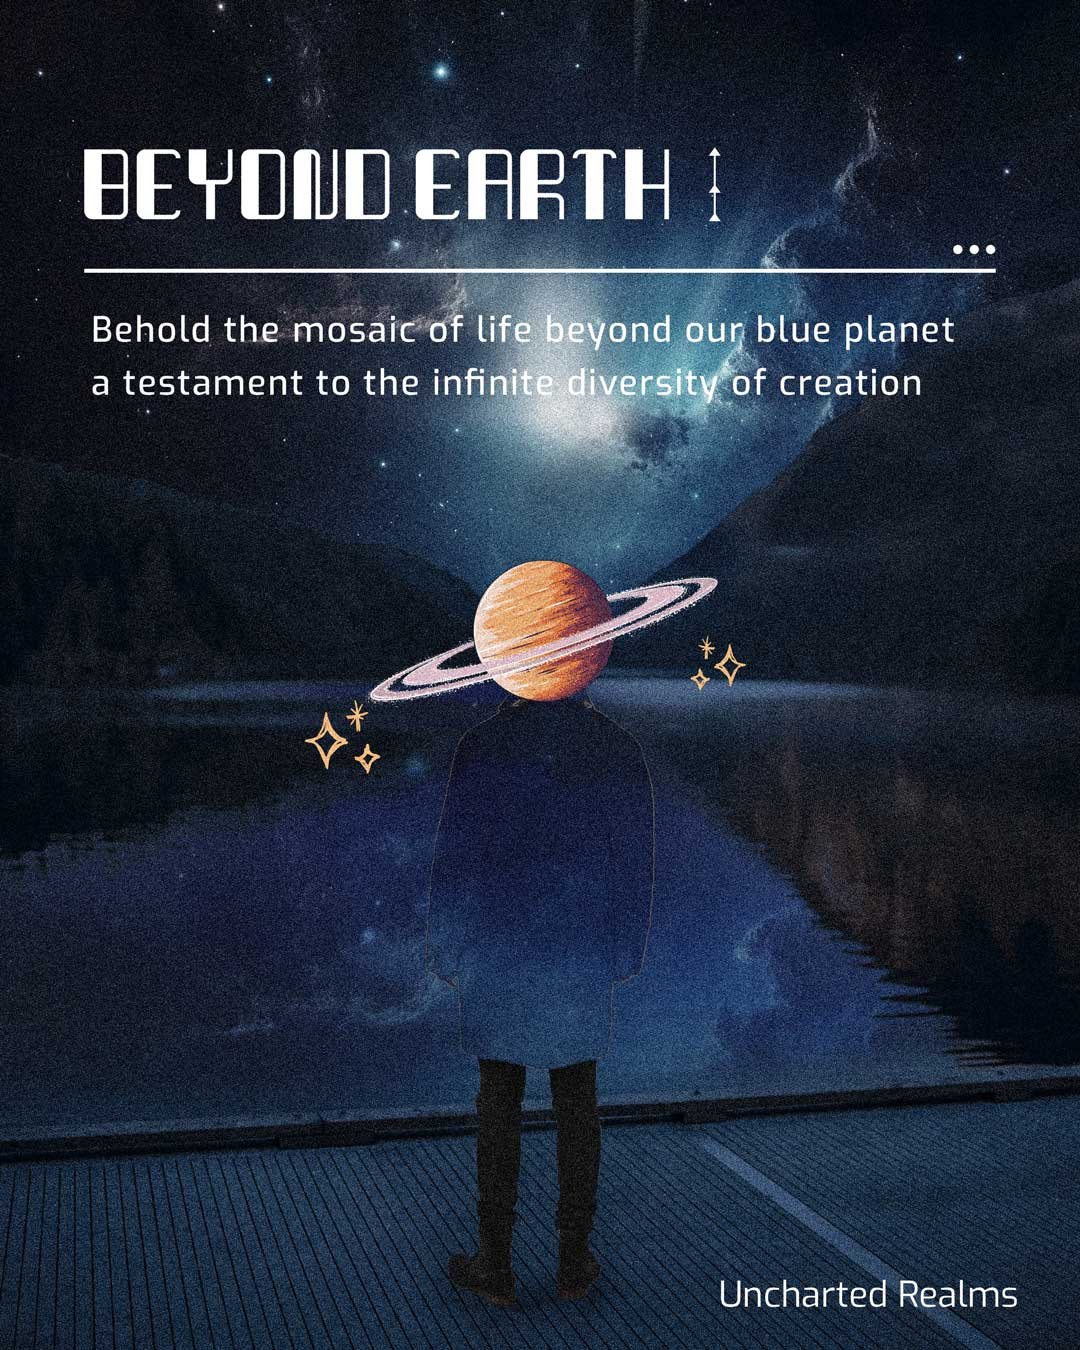
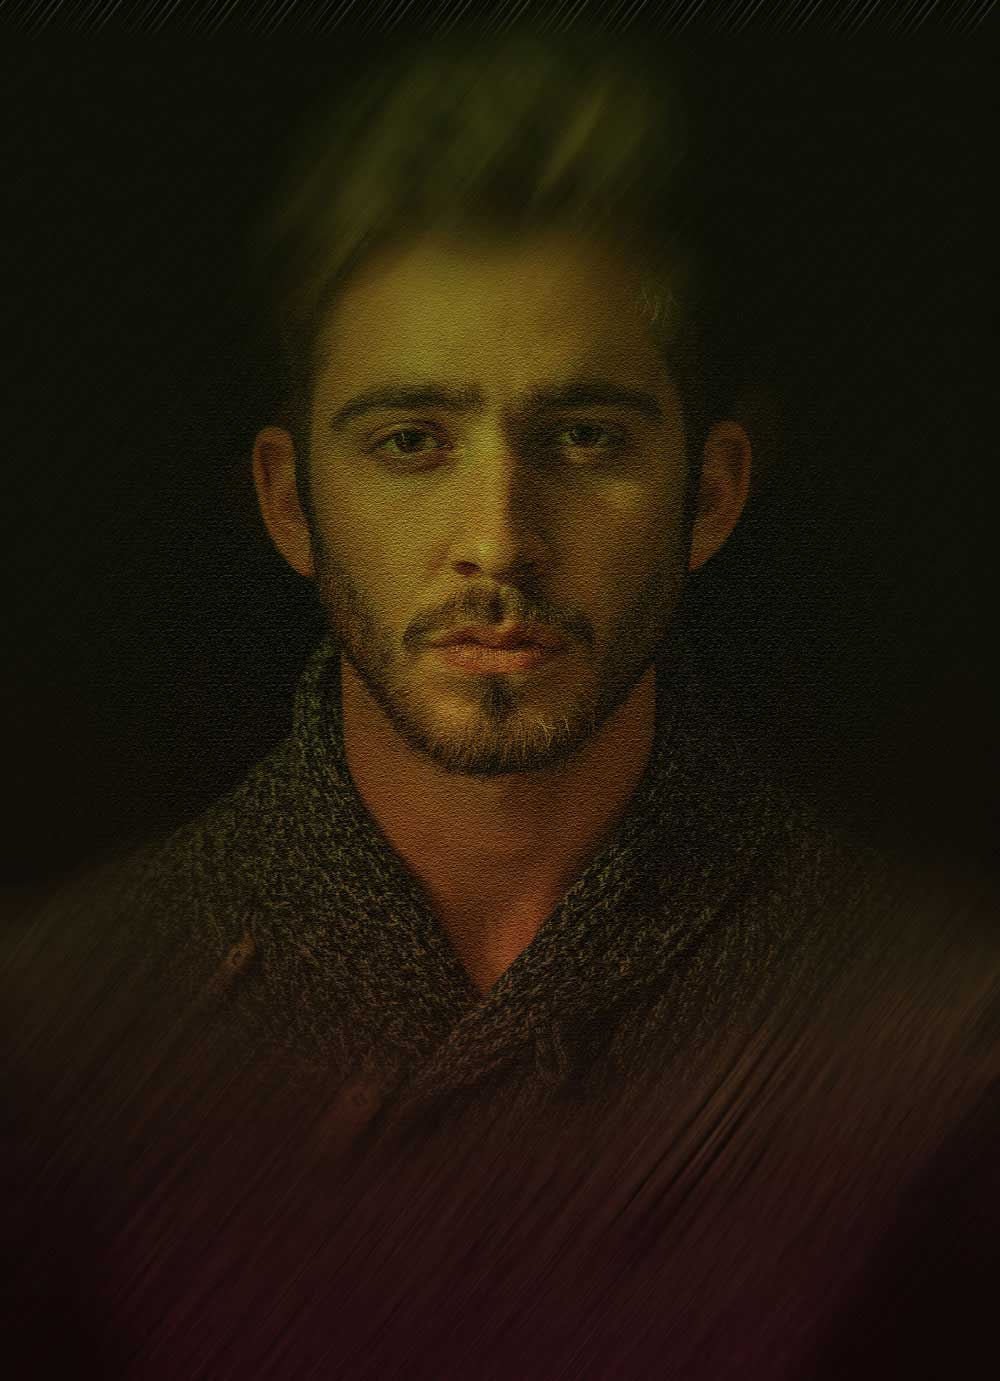
It is one of the best Photoshop effects for poster design, especially for movie posters. This effect creates a dramatic mood in a poster that connects the audience with certain emotions. Using the right fonts with these Photoshop effects can help you create a masterpiece.
Step 1. Take an artboard according to you and Place the image there.
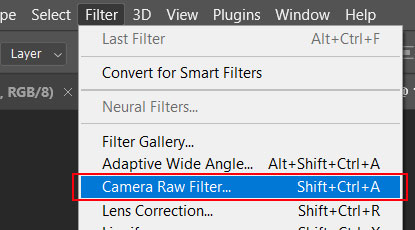
Step 2. Go to the filter option on top of Photoshop and click on the camera raw filter. Decrease the highlights, white and shadows and press ok

Step3. Press Ctrl+J to make a new copy then go to the filter option and click on filter gallery.

Step 4. Go to the texturizer option under texture. Set the texture to sandstone, the scaling to ‘109’ and the relief to ‘12’ and then hit ‘ok.

Step 5. Press Ctrl+J again to make a copy of the textured layer. Go to the filter option and then go to blur and click on motion blur. Set the angle to 53 and the distance to 257.


Step 6. Click on the elliptical marquee tool and make a selection then press alt+layer mask to hide the selected part. Select the mask layer, go to the properties panel, and set the feather value to 176.9. You will notice the blurry effect.

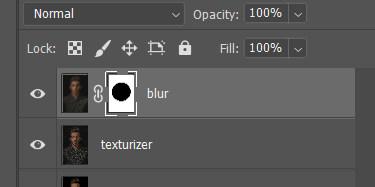


Step 7. Create a Gradient fill layer and change the blending mode to multiply. It creates a dramatic mood effect in your design.

Embossed text Effect in Photoshop (the easy way)

It is one of the most used effects in the category of Photoshop effects. It makes your design 3D and adds a shining glass effect. Embossed text effects can fit with both modern and retro fonts.
Step 1. Write your desired text and go to blending options.
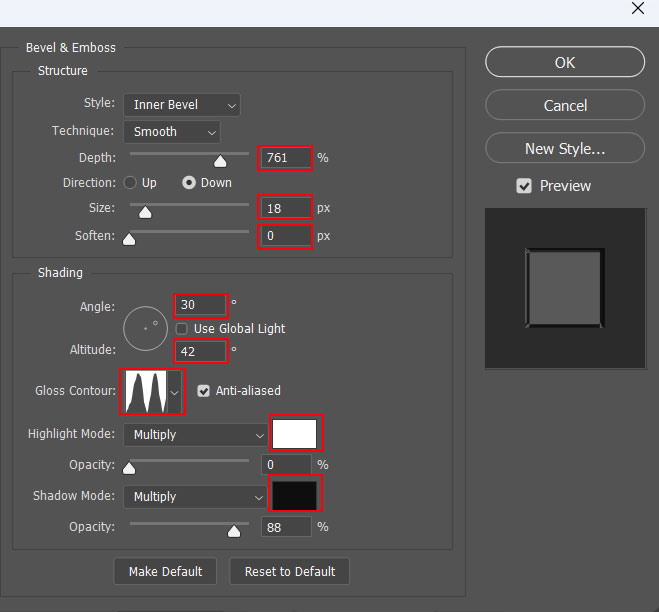
Step 2. Click on Bevel and Emboss, set the depth to 761, size to 18, Soften to 0, Angle to 30 and glass contour as shown in the image.

Step 3. Now go to Drop Shadow. Set the blending mode of shadow to multiply, Angle to 90, Distance to 12, Spread to 36 and size to 32.

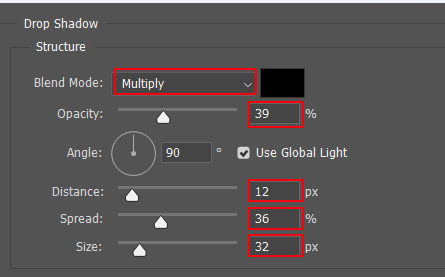

Note* Adjust the drop shadow according to where the light comes from.
Half-tone pattern in Photoshop effects

Step 1. Take a black artboard in Photoshop, then drag and drop the image and make the selection with the quick selection tool.

Step 2. Rename the selection as the Image layer. Create a black and white adjustment layer and clip it with the image layer. Select both the black and white layer and the Image layer then press Ctrl+alt+g to clip mask the black and white layer with the image layer.
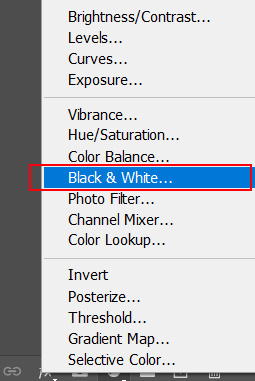


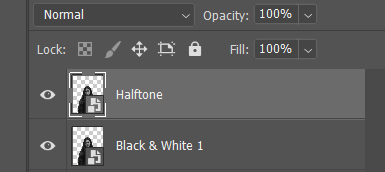
Step 3. Now select both layers and convert them into a smart object. Now make a new copy of the layer and rename it halftone. Now, go to filter options, then go to Pixelate and select Halftone.

Step 4. Set the values of Max Radius to 11, Channel 1 to 1, Channel 2 to 2, Channel 3 to 3, and Channel 4 to 4.

Step 5. Change its blending mode to multiply and set the opacity to 50%.


Glitch effect in Photoshop effects

Step 1. Drag and drop the image onto the artwork. Go to the image menu on top, then go to adjustments and select desaturate.


Step 2. Make a new copy of the layer and double-click on the layer to open blending options.


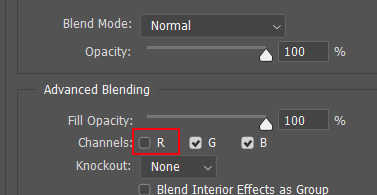
Step 3. Under advanced blending options, uncheck the R from channels and click OK. Select the layer and press the left-arrow key 10 times. You will notice a glitch effect starting to appear.

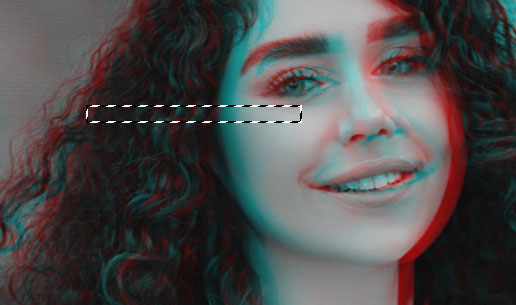
Step 4. Go to the rectangular marquee tool, draw a small rectangle, and use the cursor to move the selection to the left to create a glitch effect. Repeat it unless you get a perfect result.


Note. You can apply these Photoshop effects to text also by using the same method.
In conclusion
Adding these Photoshop effects automatically allows you to differentiate between your new and previous designs. There are several Photoshop effects in the design world; you have to choose wisely which effect will match your desired requirements. There are multiple ways to implement these Photoshop effects in your designs. Always remember the basic design principles and typography to create the perfect design. The only way to master graphic design is to experiment and practice it daily. Happy designing!

