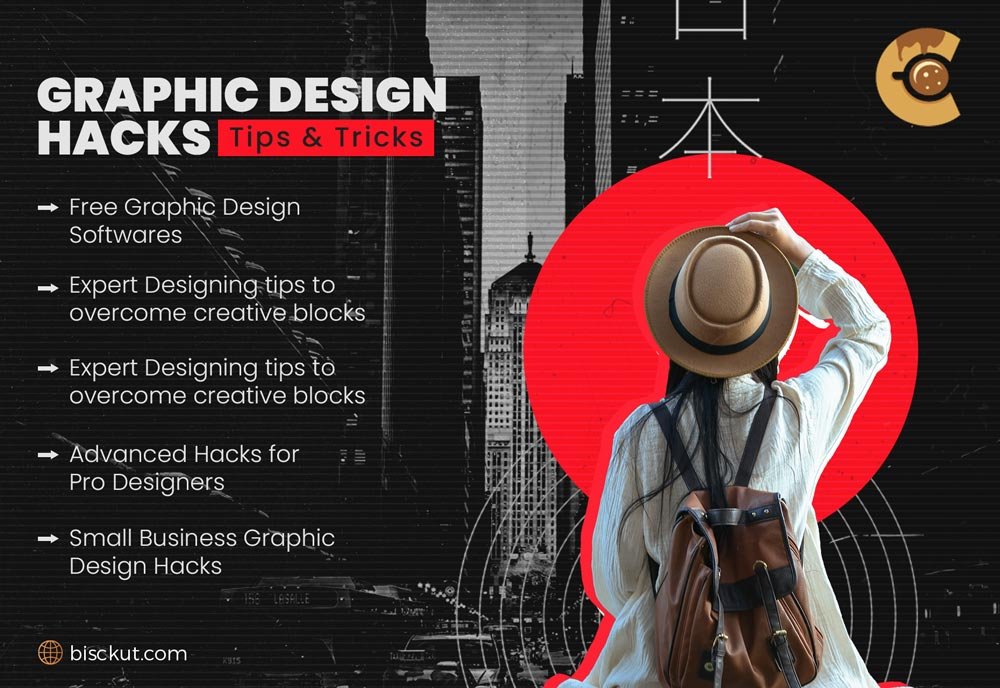
Graphic design is a creative field where small changes can lead to big results, and having the right “graphic design hacks” at your disposal can make a huge difference. Whether you’re just starting out on your journey or looking to hone your skills, mastering these tips can help you overcome creative blocks, improve your workflow, and create designs your audience will love. From using free tools like GIMP and Inkscape to understanding the essentials of typography, there are countless ways to up your design game without spending a lot of money. In this guide, I’ll share some of my favorite graphic design hacks, from practical advice for beginners to advanced techniques for pros. Let’s dive in and learn the secrets to designing like a true expert!
Essential Tools for Every Designer
Free Graphic Design Software

A common misconception is that high-quality design requires expensive software. In reality, free tools like GIMP and Inkscape offer powerful features that are more than enough for small business projects or beginner designers looking for low costs. GIMP, for example, provides a comparable range of features to Adobe Photoshop but without the advanced knowledge about the tool.
- GIMP: Great for photo editing and retouching, offering advanced features like layers, masking, and customizable brushes. Perfect for those who love Photoshop but are not ready to invest in Adobe’s subscription model.
- Inkscape: A great option for vector designs, similar to Illustrator, that allows you to create logos, icons, and advanced illustrations. Its compatibility with SVG files makes it ideal for web projects.
- Vectr: An easy-to-use, AI vector graphics editor that’s perfect for beginners. It’s a browser-based tool, so you can access your work anywhere, making it great for simple designs like logos or social media graphics.
- Photopea: A web-based alternative to Photoshop, Photopea supports PSD files and provides a range of tools for both raster and vector designs. It’s beneficial for quick edits and doesn’t require any software installation.
Affordable DIY Graphic Design Tools
For designers on a budget, affordable alternatives like Canva Pro or Affinity Designer offer premium features at a low cost.
- Canva Pro: While the free version of Canva is widely known, Canva Pro gives you access to premium elements, backgrounds, and tools that save hours of work. Canva’s Magic Write AI assists in generating text for social media captions, blog posts, and more. The “AI Image Generator” also helps designers create custom visuals from text prompts, saving time and enhancing creativity. These AI tools benefit small businesses and beginner designers, making high-quality designs more easily.
- Affinity Designer: This is a one-time purchase software highly favoured for its professional-grade vector design capabilities. It offers similar tools to Adobe Illustrator but without the monthly cost. It supports opening and editing PSD and AI files, which is helpful for designers who also work with Photoshop and Illustrator. This feature allows users to easily work with files from Photoshop and Illustrator without needing to convert formats, simplifying the design process for vector and raster graphics.
Pro tip: If you’re working with a small business or a start-up, these tools provide the flexibility and features needed without costing too much.
Typography Fundamentals for Stronger Designs
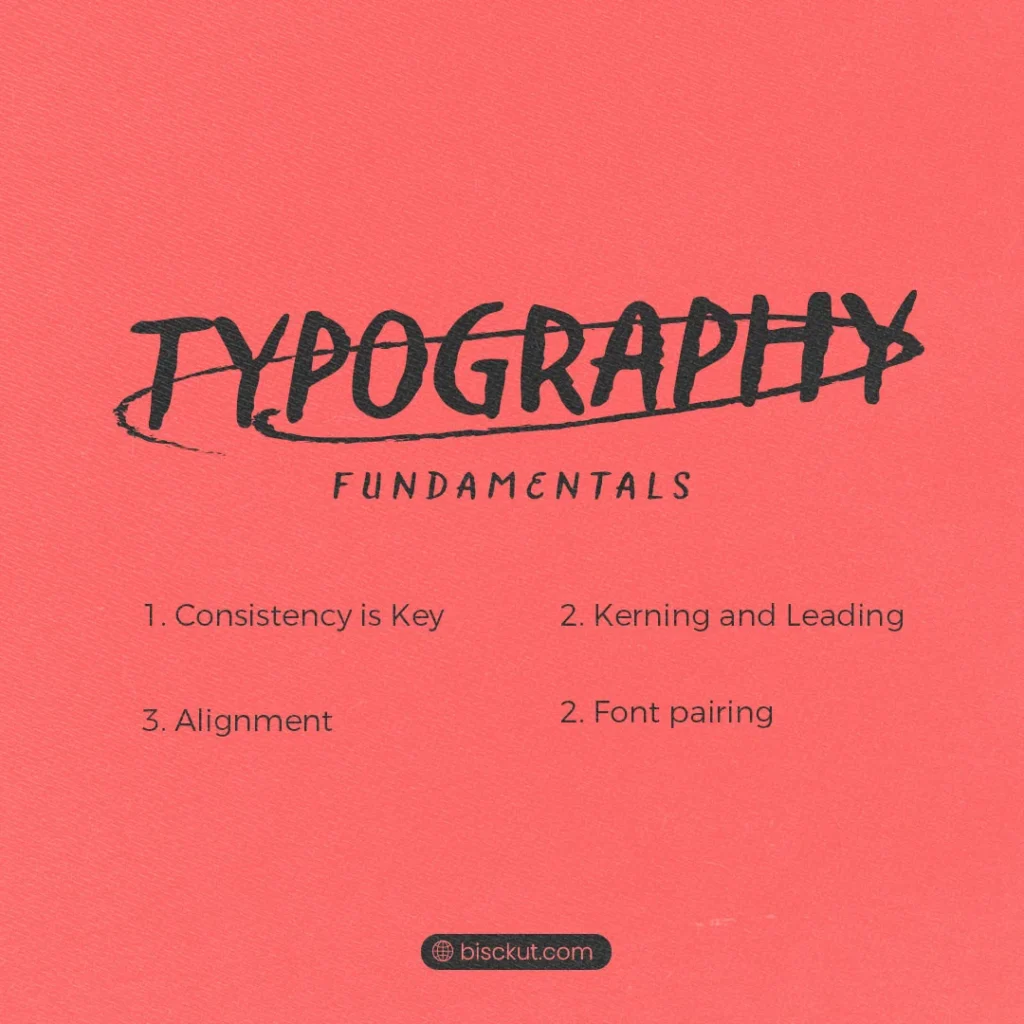
Typography can make or break a design. Yet, most of the time, it is overlooked by beginners. Typography doesn’t just involve picking a fancy font; it’s about the right spacing, size, and style balance to communicate your message.
- Consistency is Key: Stick to 2-3 font styles throughout a project. Beginners often use too many fonts, which makes designs look poor. Consistent typography across branding materials adds professionalism.
- Kerning and Leading: Adjusting the space between letters (kerning) and lines (leading) can transform how readable and visually pleasing your text is. If you’re creating a flyer or a social media post, these small adjustments will make your text look polished.
- Hierarchy: Establishing a clear visual hierarchy helps guide the viewer’s eyes to the most important information. Use different font sizes, weights, and styles strategically. For example, make headings bold and larger, while keeping body text lighter and smaller, to create a flow that’s easy to follow.
- Font Pairing: Pairing fonts that complement each other can elevate your design. Use a combination of contrasting fonts, like a bold headline font with a simpler body text, to create a strong visual hierarchy and keep your design interesting.
Expert Graphic Design Tips for Beginners
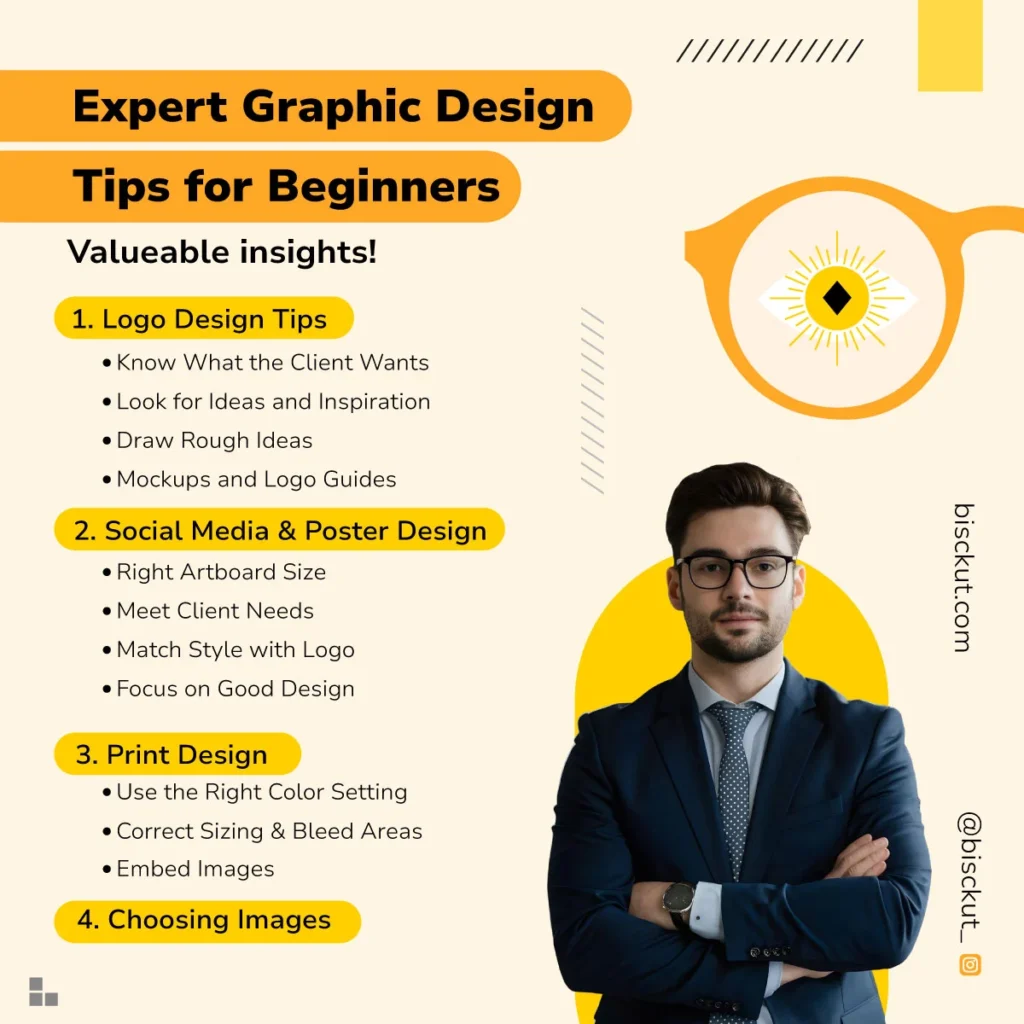
Starting your graphic design journey can be exciting, but it can also feel frustrating sometimes when you get stuck in design. Here are some personal tips and practical advice based on my own experience to help you improve your design process and creativity.
1. Master Keyboard Shortcuts
In programs like Photoshop, shortcuts can boost your workflow. For example, using “Ctrl + T” to transform an image, or “Ctrl + J” to duplicate layers, can save hours in big projects.
2. Logo Design Tips
Creating a great logo begins when you fully understand what your client needs. Here’s how to approach it:
- Know What the Client Wants: Before starting anything, talk with your client to get a clear picture of their ideas, brand, and the message they want the logo to show.
- Look for Ideas and Inspiration: Check out design platforms like Pinterest, Dribbble, and Behance. Study the logos in the same industry and figure out what works well and what doesn’t.
- Draw Rough Ideas: On paper, sketch different ideas for the logo. Don’t aim for perfection right away—just get your ideas out.
- Create Digital Samples: Transfer your best sketches into design software like Illustrator or CorelDRAW and create 2 to 3 polished logo examples for your client to review.
- Mockups and Logo Guides: Present your logo designs using mockups to show how the logo would look in real life. Also, make a logo guide explaining the choice of fonts, colors, and design elements, so the client understands your decisions.
Pro Tip: Having a clear logo guide shows professionalism and builds trust, helping clients feel confident in your work.
3. Social Media and Poster Design
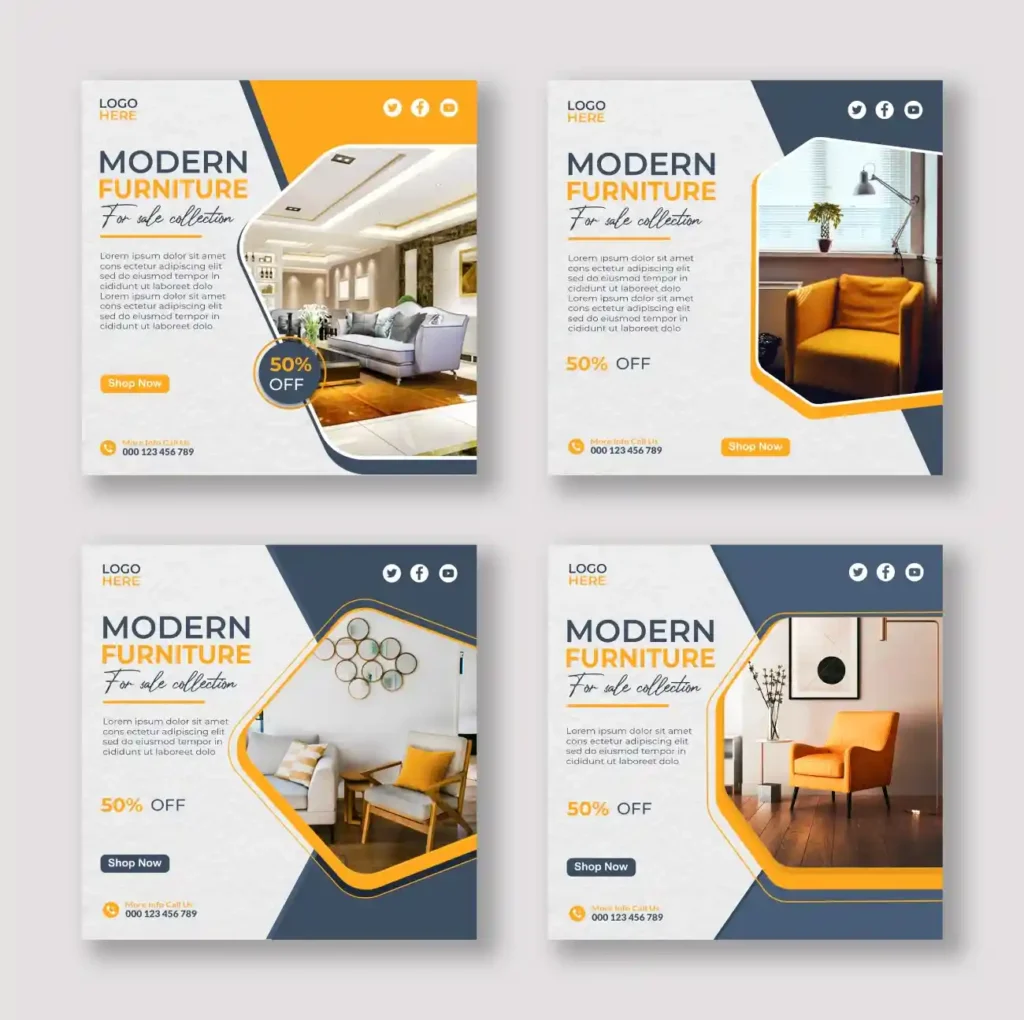
Designing for social media and posters requires paying attention to the size and needs of the client. Here’s how to make the process smoother:
- Pick the Right Artboard Size: One common issue is choosing the right size for your design. For example, Instagram posts work best with a square (1:1) ratio. Always design according to where the image will be shared.
- Meet Client Needs: Start by researching what your client wants to highlight. Understand their goals and draw inspiration from other successful designs.
- Focus on Good Design: Stick to basic design principles like balance and color theory. This will help you create clear and powerful graphics.
- Match Style with Logo: A helpful tip is to match the shapes in your design, according to your logo’s style. If your logo has rounded edges, try to use softer shapes in your design. If your logo has sharp edges, go with harder shapes. This helps your design look relevant to the brand.
Early in my career, I found it tricky to select the right sizes and keep things consistent. But by sticking to these basic design rules, I was able to create posts and campaigns that looked good across different platforms.
4. Print Design
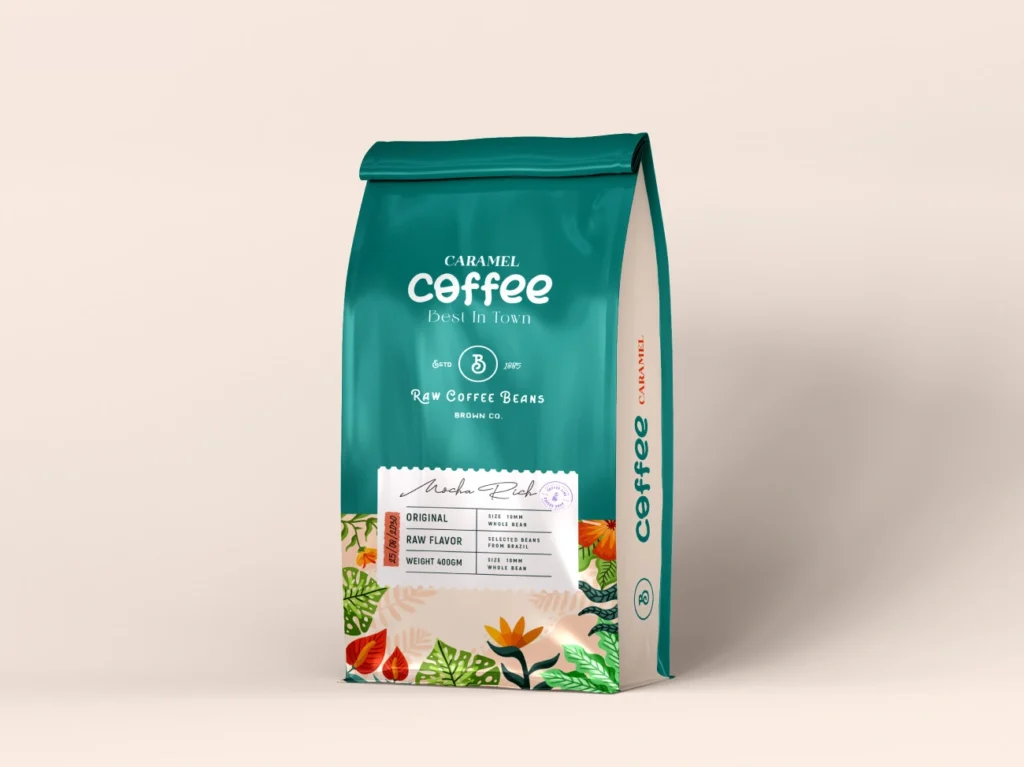
The print design needs careful attention to colors and size. Here are some key points to remember when creating for print:
- Use the Right Color Setting: Always work in CMYK for print to make sure the colors show up correctly on paper.
- Correct Sizing and Bleed Areas: For large prints like billboards, get the exact size from your client (e.g., 20 feet by 10 feet) and account for bleed areas to avoid unwanted white edges.
- Embed Images: If using Illustrator, always embed your images to avoid missing any important files during the print process.
- Create font outlines: Before sending a file for print, always convert fonts to outlines. This ensures the fonts you used in your design remain as it is, even if the printing shop doesn’t have the exact fonts installed on their system. Otherwise, the text might default to a basic font, which could mess with the final look of your design.
Pro Tip: For businesses, using print-ready templates online can save time. Also, always check your files are in the right format for print (CMYK).
5. Choosing Images

Choosing the right images is key to telling the story in your design. Here’s how to pick wisely:
- Pick Images That Match the Message: Make sure the images support the overall message of your design. For example, if you’re promoting a sale, choose happy, energetic images that match the excitement.
- Avoid Mismatches: Don’t use images that confuse your audience or don’t fit the context. Stick to visuals that make sense for the design.
Example: For a summer sale promotion, I used images of people having fun outside with bright colors. This made the design feel exciting and matched the sale’s theme.
6. Use Templates
For beginners, there’s no shame in using templates. Websites like Canva offer pre-made templates that you can modify to suit your needs. It’s a great way to see what professional designs look like and learn about structure and balance in layouts.
In my early years, I found that simple templates helped me understand the basic grid structures of effective designs, from newsletters to social media ads. Learning to work within those grids made my later custom designs far more effective.
Advanced Hacks for Pro Designers
For experienced designers, it’s not about learning the tools but mastering them to create efficient workflows and exceptional designs. Here are some advanced DIY graphic design projects to consider:
- Non-destructive Editing in Photoshop: Use smart objects and adjustment layers instead of directly altering the image. This allows you to experiment with effects and changes without losing the original file. I often use smart objects when working on large branding projects, which allows for quick adjustments in the final stages of design.
- Layering Effects: Professional designers use multiple layers to build depth and complexity in their designs. Start with a base layer, then gradually add textures, effects, and typography. If you’re designing a poster, you can use blend modes (like overlay or multiply) to create unique lighting effects that give your work a professional edge.
- Advanced Typography: Consider the use of variable fonts—which allow for perfect adjustment of font-weight and width—to add flexibility to your designs. This is particularly useful for responsive designs that need to adapt across different screen sizes.
Small Business Graphic Design Hacks
Small business owners often need quick, cost-effective designs to maintain brand consistency. These graphic design tips for small businesses will ensure that your designs are polished without needing a large budget:
- Batch Create Social Media Graphics: Instead of creating social media posts one by one, batch-create a month’s worth of content at once. Canva’s “Magic Resize” tool allows you to resize one graphic for multiple platforms in seconds.
- Use Color Wisely: Ensure your color choices reflect your brand. Small businesses often use too many colors in their designs, making their brand seem inconsistent. Stick to your brand’s primary colors in all your marketing materials for a balanced look.
- Optimize for Print and Digital: Create designs that work both in print and digital media. This saves time and resources, as you won’t need to create different designs for flyers, posters, and online ads.
Pro tip: For local businesses, using ready-made templates from online resources can make it easy to switch designs from digital to physical products, like flyers or posters. Just make sure your design is in CMYK format, which is used for printing, so the colors come out correctly. On the other hand, RGB is better for designs that will stay online or on screens. This helps avoid any color issues when printing or sharing digitally.
Conclusion
Graphic design is all about learning and improving. Whether you’re a beginner or a seasoned pro, these hacks can save you time, improve your workflow, and elevate your designs. As you progress, you’ll find that even small tweaks in your process can have a big impact. I encourage you to start implementing these hacks in your next project, and don’t be afraid to explore advanced techniques as your skills grow.
The world of graphic design is full of opportunities to improve—embrace them!

