Top 10 Best Lightroom Film Presets for Vintage and Film Photography
In the world of photography, there has always been something special about the look and feel of film photography. The texture, the grain, the mood – it’s all timeless. As a photographer, achieving that authentic film look digitally is no longer a difficult task. Thanks to Lightroom film presets, we can easily replicate the charm of film photography in just a few clicks.
Why are film presets so important for photographers today? In real-time photography, speed and consistency are crucial. When working with digital tools, having the ability to instantly apply the aesthetic qualities of different film types helps you maintain a consistent visual style throughout a project – whether it’s for a wedding album or an editorial shoot. Film photography, with its fine grain, soft tones, and organic colors, is making a comeback in a big way, especially as photographers look to recreate that vintage, raw beauty that only film can deliver. Lightroom movie presets make this possible, ensuring you don’t waste valuable time trying to recreate that magic.
What Are Lightroom Film Presets?
Before we dive into the top picks, let’s first understand what Lightroom film presets are. Simply put, Lightroom film presets are pre-configured settings that emulate the color, contrast, and texture of traditional film photography. With just one click, you can apply these settings to your photos and instantly transform them into film-like visuals.
From a professional perspective, Lightroom film presets are a game-changer. They save time and provide consistency and precision, which is crucial for maintaining brand aesthetics or completing client work. As someone who works on large projects like weddings and editorial shoots, I can guarantee, how much easier the workflow becomes when presets are involved. You no longer have to spend hours manually adjusting tones, grain, or colors to match a specific film look. Instead, these presets allow you to focus on the creative process and fine-tune images precisely.
Key Features of Film and Vintage Photography
Before you can fully understand the importance of these presets, it is important to understand what makes film photography so unique. Here are some of the main characteristics that define film and vintage photography:
- Film Grain – The grain in film photography gives it a raw, organic texture. This is something that digital photos often lack, but can be recreated using the right presets.
- Muted Colors – Older film images tend to have more muted, earthy colors. They lack the boldness of modern digital images, which adds to their nostalgia.
- Soft Contrast – Film photos usually feature softer contrasts compared to digital images. This makes for a less sharp, more natural-looking image.
- Faded Tones – A signature of vintage photos, the faded look represents the passage of time and gives images a subtle, dreamy quality.
Why Use Film Presets for Vintage Photography?
You might be wondering, why not just manually adjust your photos to achieve that film look? Well, here’s why using presets makes sense:
- Time-Saving: Manually editing photos to look like film can be time-consuming. Presets apply the changes instantly.
- Consistency: When you’re editing a large batch of photos, such as a wedding or an event, you need consistency. presets help you maintain the same aesthetic across all images.
- Professional Quality: Presets, especially the ones shared with you today, are designed by professionals who have carefully created them for accuracy and quality.
Top 10 best Lightroom film presets
1. Kodak-Inspired Film Presets
If you want the classic, iconic Kodak film look, this preset pack is a must-have. It captures the rich tones, subtle contrast, and warmth that Kodak film was known for, especially in portrait and travel photography. I’ve used these presets for portraits, and the results are simply stunning.
- Best For: Portraits, Travel Photography
- Where to Download: kodak presets
After applying the Kodak preset, adjust the warmth and exposure settings based on the natural light conditions. Kodak film traditionally handles skin color beautifully, but you may need to enhance shadows for added effect, especially in outdoor portraits.
2. FujiFilm Vintage Preset Collection

Fujifilm is famous for its vibrant yet soft tones. This preset collection creates Fujifilm’s distinctive look, ideal for landscape photographers who want a dreamy, muted vibe. I often use these for my landscape shots, and the colors come out perfectly balanced.
- Best For: Landscape Photography
- Where to Download: FujiFilm Presets
Fujifilm presets often lean toward softer colors. If your landscape lacks vibrancy, don’t be afraid to increase the greens and blues in Lightroom’s HSL sliders to create a richer, more dynamic scene that still retains the vintage Fuji look.
3. Portra 400 Presets for Moody Film Effects
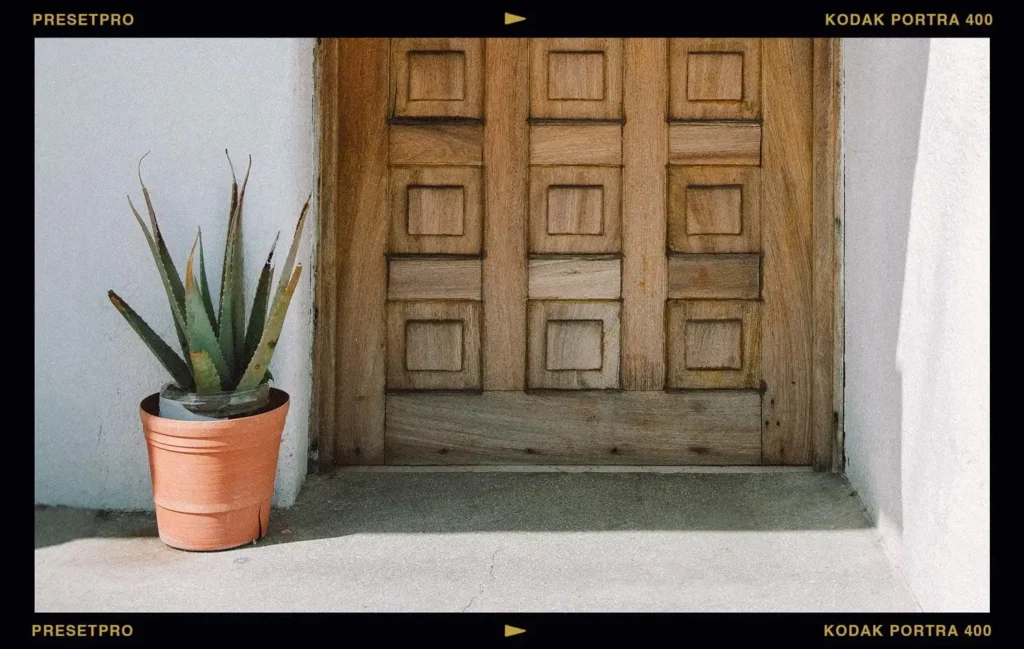
One of my favorite film stocks, the Portra 400, gives off beautiful moody tones. This preset pack brings that exact vibe into your digital photography. It’s perfect for weddings and fashion shoots where you want a deeper, more emotional aesthetic.
- Best For: Weddings, Fashion
- Where to Download: Portra 400
Portra 400 is famous for its muted tones and moody atmosphere. Apply this preset and then manually adjust the highlights to avoid washed-out skies or overexposed details in bright environments. This helps to maintain that deep, emotional tone.
4. Ilford Black & White Film Presets

Ilford has always been a go-to for black-and-white film photography. These presets are great if you’re a fan of monochrome edits. What I love about them is the authentic grain and contrast they add to the photos, replicating the darkroom feel.
- Best For: Black & White Photography, Portraits
- Where to Download: Ilford Presets
When using Ilford presets, focus on fine-tuning the contrast and clarity settings. Increasing the blacks slightly can give your monochrome photos a richer, more authentic film feel, reminiscent of darkroom prints.
5. CineStill Lightroom Preset Pack
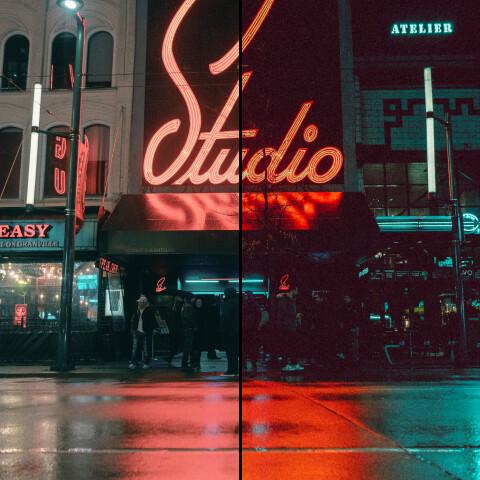
For those looking to mimic the cinematic feel of old films, CineStill presets do the job perfectly. These presets work especially well for night photography, giving off deep shadows and beautiful, vibrant highlights.
- Best For: Cinematic, Night Photography
- Where to Download: CineStill Lightroom Preset Pack
CineStill presets excel in low-light situations. After applying the preset, use the dehaze tool sparingly to emphasize the ambient lighting, giving your night shots a dramatic and cinematic atmosphere without losing detail.
6. Lomography Film Presets
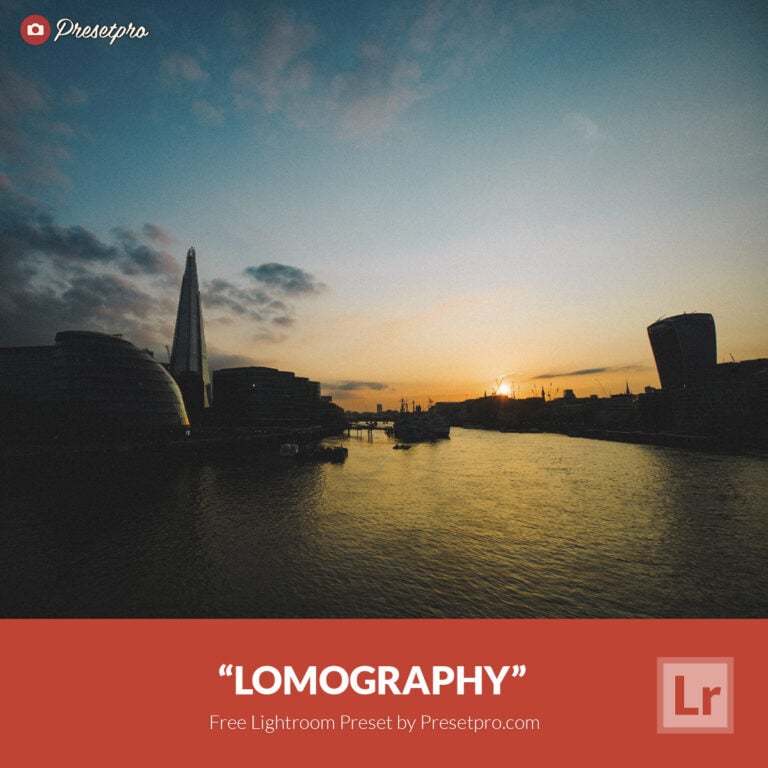
If you’re looking for something fun and experimental, Lomography presets bring out that quirky, vintage vibe. With excessive grain and bold colors, these presets are perfect for street photography or creative projects.
- Best For: Street Photography, Creative Projects
- Where to Download: Lomography Presets
Lomography presets offer a lot of creative freedom. Use them with Lightroom’s Split Toning feature to enhance the experimental feel – adding unexpected color changes can push artistic boundaries.
7. Polaroid Film Presets
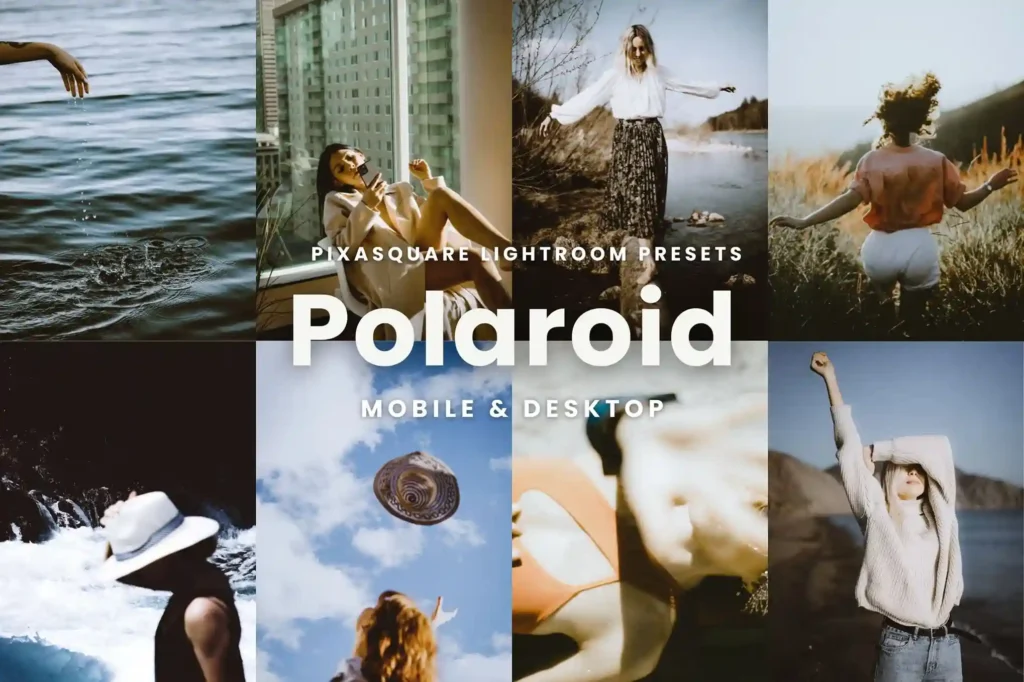
Polaroid photography was all about getting instant, stunning results, and these presets bring that same magic to your digital workflow. I’ve used this preset for lifestyle and travel shots, and it works wonders.
- Best For: Lifestyle, Travel
- Where to Download: Polaroid Lightroom Presets
Polaroid photos are known for their soft focus and dreamy look. After applying the preset, reduce the sharpness a little to instantly replicate the photo aesthetic. Increasing the vignette will add even more authenticity to the edges of your photo.
8. Agfa Vista Film Presets
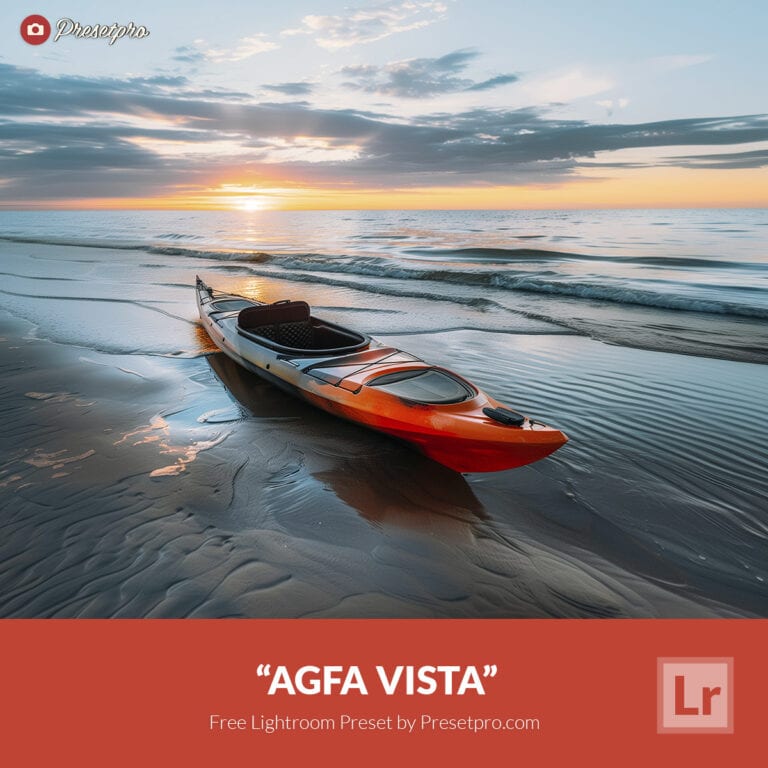
The Agfa Vista film is known for its punchy colours and slightly cooler tones. These presets are great for capturing vibrant landscapes and detailed street photography. They add a unique pop to your photos while maintaining a vintage appeal.
- Best For: Street Photography, Landscapes
- Where to Download: Agfa Presets
Agfa Vista is known for punchy reds and blues. To enhance this effect, increase the saturation slightly in the color grading panel and use a gentle contrast curve for a bolder but still vintage look.
9. Classic Chrome Film Presets

If you’re a fan of FujiFilm’s Classic Chrome, then this preset pack will deliver those desaturated, high-contrast images with a slight blue tint. It’s excellent for travel photography where you want to emphasize the mood of the location.
- Best For: Travel Photography, Urban Shots
- Where to Download: Classic Chrome Presets
Classic Chrome gives a desaturated, timeless look. I recommend pulling down the vibrance to further emphasize the muted tones, which works great for urban environments where you want to highlight mood over color.
10. Ektar 100 Film Presets
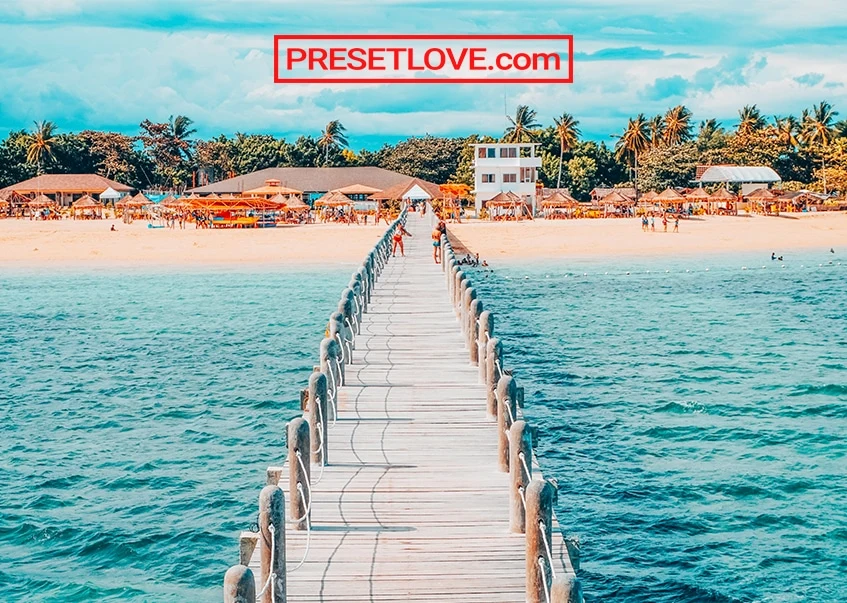
Ektar 100 film is known for its extremely fine grain and vibrant colors, especially in natural light. This preset pack is perfect for outdoor portraits and nature photography. I love using these presets for their incredible sharpness and vibrancy.
- Best For: Nature, Portrait Photography
- Where to Download: Ektar 100
Ektar 100 delivers vibrant colors, but it works best under natural lighting. After applying the preset, adjust the color temperature to match your lighting conditions and avoid oversaturation in bright sunlight.
How to Use Film Presets in Lightroom
Using Lightroom film presets is a straightforward process, but there are a few tips I’ve picked up along the way that will help you make the most of them.
- Download the Preset: After downloading the presets from the provided link, unzip the files if necessary.
- Import into Lightroom: Open Lightroom and go to the Develop module. Open the Presets panel and choose “Import Presets.“. Choose the folder where your presets are stored.
- Apply to Photos: Once imported, you can apply the presets with one click. Simply hover over each preset to see a preview, then click to apply.
- Fine-Tune: After applying the preset, I always recommend making minor adjustments to exposure, contrast, or grain to match the specific photo you’re editing.
Film Photography Editing Tips for Best Results
Once you apply the preset, it is necessary to make some adjustments to personalize the look. Here are some tips that work wonders for me:
- Tweak the Grain: Don’t be afraid to increase or decrease the grain depending on your image. Too much grain can make a photo look noisy, while too little grain can ruin the look of the film.
- Play with Color Grading: Use Lightroom’s color grading panel to fine-tune hues and tones. This will help you match the exact vintage look you’re aiming for.
- Adjust Shadows and Highlights: Depending on the preset, you might need to bring down the highlights or boost the shadows to get a balanced look.
Conclusion
Using Lightroom film presets is one of the quickest and most effective ways to achieve a professional, vintage look in your photography. For photographers, these presets aren’t just about adding filters; they’re about enhancing storytelling through mood and texture. Each film preset brings unique qualities to photos—whether it’s the deep emotional tones of Portra 400 or the cinematic charm of Cinestill. By incorporating these into your workflow, you save time, produce consistent results, and give your images a timeless aesthetic.
Even more valuable is the adaptability that presets provide. As your style evolves or client demands change, presets can be changed and adapted, ensuring that your creative vision shines through in every shot. Over the years, I’ve seen how these presets can transform even the most ordinary photos into works of art, making them an essential tool for any photographer who wants to recreate the magic of film. Try them out for yourself, and don’t forget to experiment – sometimes, the smallest adjustments can lead to amazing results.

