Imagine you’re walking through the grocery store and something catches your eye—a product with packaging so unique you can’t help but pick it up. That’s the power of effective food packaging design.
Whether you’re an experienced designer or just starting, it’s important to create food packaging that stands out. In this guide, we’ll walk you through the process from concept to creation, including a step-by-step guide on how to design packaging using Adobe Illustrator, as well as tips for overcoming common beginner challenges.
Understanding the Basics of Food Packaging Design
What is Food Packaging Design?
Food packaging design isn’t just about making something look good. It’s about protecting the product, conveying the brand’s message and attracting customers. Good packaging keeps food safe, tells a story and inspires consumers to choose your product over the competition.
Types of Food Packaging
There are many types of food packaging, each of which is suitable for different products. For example, boxes are great for cereals, bottles work great for sauces, and bags are perfect for snacks.
Choosing the right type of packaging depends on what you are selling and how you want it to look.
Key elements of effective food packaging design
Good packaging needs to be strong, practical, and attractive. Strong packaging keeps the product safe during shipping, Practical packaging makes it easy for customers to use, and attractive packaging grabs their attention. Think about how people will use the packaging and who will use it.
The Concept Phase: Planning Your Packaging Design
Research and Inspiration
Before you start designing, it’s important to do research. See what competitors are doing and take inspiration from other industries.
Did you know that well-researched packaging can increase sales by up to 20%? Understanding the market can give you a head start. You can take inspiration from platforms like Pinterest and dribbble.
Defining Your Brand’s Story
Your packaging should tell a story. What does your brand stand for? What values do you want to convey? Choose colors, typography and images that reflect your brand identity. For example, a natural food brand might use earthy colors and organic shapes.
Choosing the Right Materials
Selecting the right material is important. You have to consider cost, sustainability, and how the material affects the shelf life of the product.
For example, glass is often used for products that need to be seen, such as sauces or beverages, but it can be more expensive and heavier.
Create the Packaging Design Template for a Food packaging
Creating a template for your food packet design is an important step that ensures your design fits perfectly on the final product. Here’s how to set up your template in Adobe Illustrator using the proper artboard size.
Choosing the Right Artboard Size
The size of your artboard is important to how your design will fit on the food package. Here are some options:
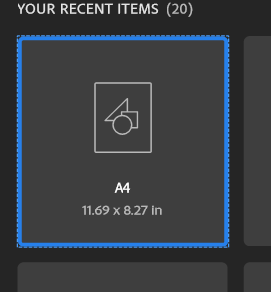
A4 Size (8.27″ x 11.69″): Ideal for small to medium-sized food packages, such as snack bags or small cereal boxes. A4 is versatile and offers enough space for a compact design with detailed elements.

A3 Size (11.69″ x 16.54″): Better suited to larger food packets, such as family-sized snack bags or cereal boxes. A3 allows for more detailed designs and additional product information.
Custom Size: If your packet dimensions vary, it’s best to create a custom artboard that matches the packet size. For example, if your food packet is 7″ x 10″, you can use a 14″ x 10″ artboard to accommodate the front and back panels, plus extra space for the sides.
Set Up the Artboard
Start by opening Adobe Illustrator and setting up a new document

Choose an A4 size artboard (11.69″ x 8.27″) for a standard food packet design. This size is typically used for small to medium packets, providing enough space for the front, back and side panels.
Apply the Bleed Area

Extend the edges of your design by 0.2 inches to account for the bleed area. This ensures your design prints correctly at the edges without leaving any white gaps after cutting.
Extend your rectangles slightly beyond the artboard and adjust your artwork to cover these areas.
Determine the Packet Layout
Break down the food packet into key components with the help of a ruler. Press Ctrl+R to open rulers, add a guide and place it in the centre of the artboard. The guide helps you to work within the front and back panels without any problem
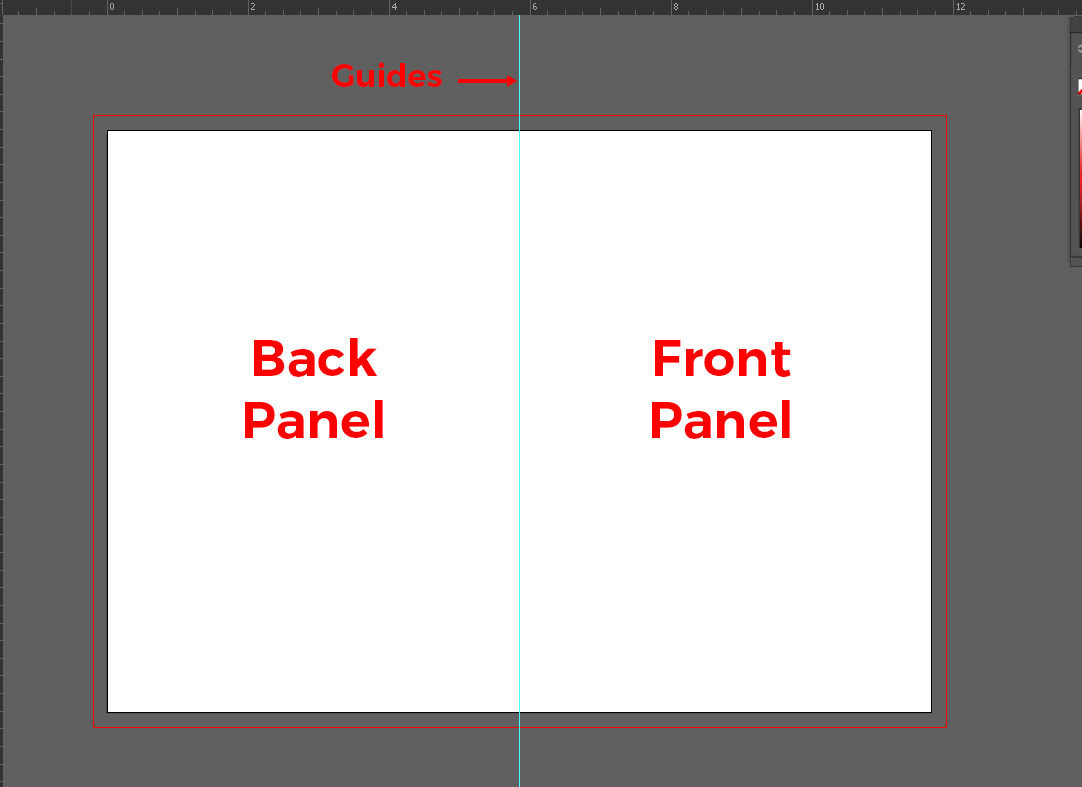
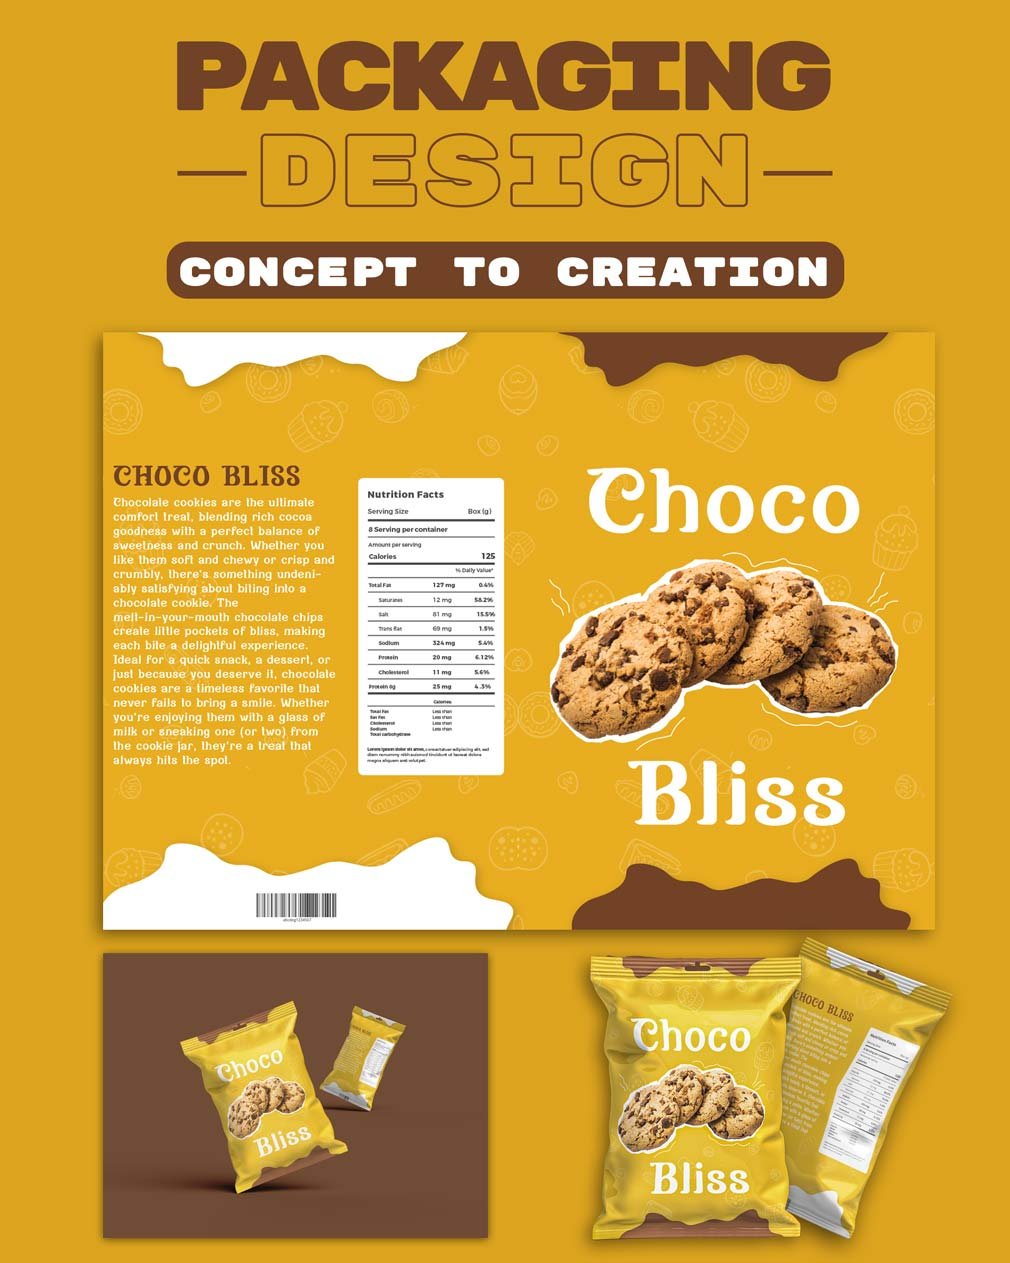
Front Panel: The main design area displays the product name, image, and branding.
Back Panel: Typically contains nutritional information, ingredients, and other details.
Design Within the Template
Once you have the die lines, design each panel one by one, keeping in mind how they will look when put together. Use the type tool to add text.
Make sure important details like logos and product names are placed in a safe area, away from bleed and cut edges.
Designing a food packaging design
Step 1. Design the Front Panel
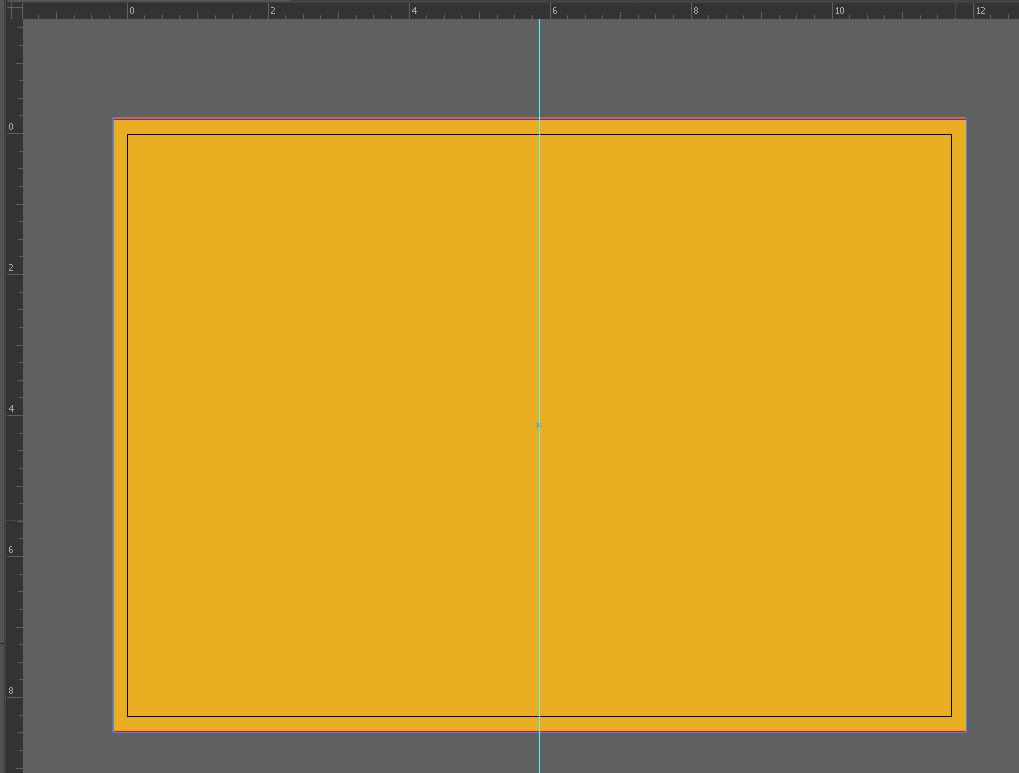
Start designing the most visible part of your packaging—the front panel. Use the Rectangle tool to create a guide for the front area. Place your brand logo and product name in prominent locations. Select a color palette and typography that align with your brand identity.
Step 2. Add Images and Graphics

Include high-quality images and graphics that represent the product. You can drag and drop images into artboard images. Adjust the size and location using the selection tool. Consider adding patterns or illustrations to enhance the visual appeal. As you can see, I have designed a custom outline behind cookies to give our food packaging design a trendy look.
Step 3. Design the Other Panels
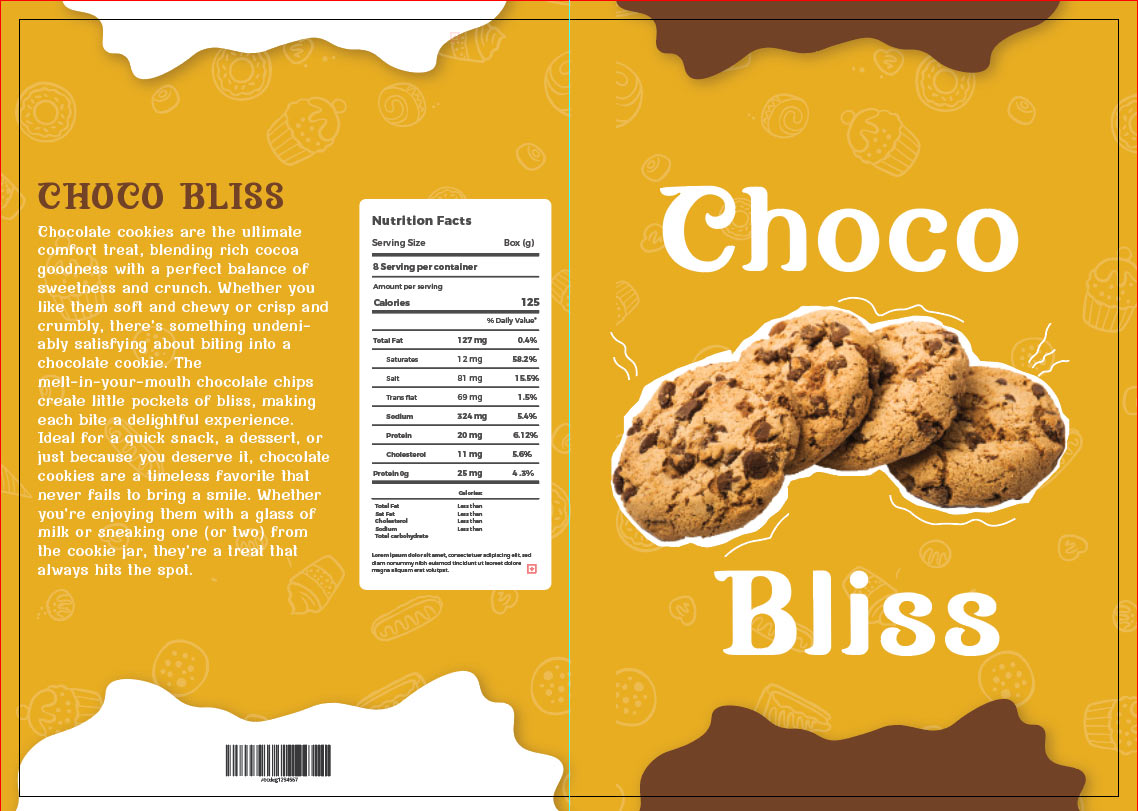
Move on to the side and back panels. These areas usually contain important information like ingredients, nutrition facts, and barcodes. Use the type tool to add text, making sure it’s legible and aligns with your overall design.
Step 4. Add Finishing Touches
Make sure all design elements are aligned and balanced. Use the ruler and guide tools to place everything in the right place.
Step 5. Check Your Layers

Organize your design into layers to make editing easier. For example, put text on one layer, images on another, and background colors on a separate layer. This allows you to make adjustments without affecting the entire design.
Step 6. Pre-Press Checks

Before sending your design to print, double-check the bleed area and make sure all images are in CMYK mode. Convert any text to outlines (Type > Create Outline) to prevent font issues while printing. Save your file in a print-ready format like PDF or AI
Steps 7. Embed the images

When creating your print design, it is important to embed images into your file. Embedding ensures that all images used in your design are included in the final print file. This prevents any issues with images being lost or low resolution during printing.
Simply linking images can cause problems if the file path changes or the printer does not have access to the original files. By embedding, you guarantee that what you see on your screen is what will appear in the printed product.
Steps 8. Saving your file (print-ready)


Go to file > Save as, then select Adobe PDF.
Mockups For showcasing

Before finalizing your design, create mockups. These are sample versions of your packaging that help you see how it will look in real life. Present these to the client to get feedback and make necessary changes.
Resources for downloading packaging templates and mockups
1. Freepik
Freepik offers a huge collection of free and premium packaging templates such as mockups, logo designs, posters, banners and much more. Whether you’re looking for a modern, minimalist design or something more elaborate, Freepik has options to suit every need.
The platform is easy to navigate, with filters that help you find the perfect template instantly. These templates are fully editable, allowing you to customize them in Adobe Illustrator or other design software to match your brand identity.
2. Envato Elements
Envato Elements offers a high-quality selection of packaging templates, which are ideal for designers who want professional-grade resources. With a subscription, you get unlimited access to a wide range of templates that cover everything from simple labels to complex box designs.
Experienced designers create these templates and come with detailed layers and guides, making customization simple. Envato Elements is perfect for those who want to enhance their packaging designs with sophisticated and versatile options.
Overcoming Common Challenges in Food Packaging Design
Regulatory Compliance
Every region has its regulations for food packaging, especially when it comes to labelling and nutritional information. Make sure your design meets these legal requirements. For example, in the U.S., the FDA has specific guidelines about what must be included on food labels.
Balancing Creativity and Functionality
It’s fun to be creative, but your packaging needs to be practical too. A design that looks good but is difficult to open can turn customers off. Pick a design that is both appealing and user-friendly.
Dealing With Feedback
Feedback is a part of the design process. When clients provide feedback, listen carefully and make revisions where necessary. However, stick to your design principles and explain why certain elements are important.
Case Studies: Real-World Examples of Successful Food Packaging Design
Example 1: Innocent Drinks
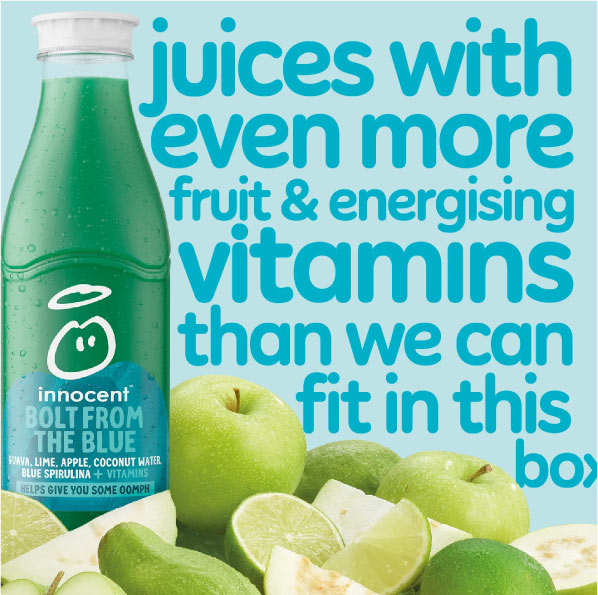
Innocent Drinks is known for its playful and accessible packaging. The simple design, combined with clear messaging, has helped the brand become a household name. The use of bright colours and hand-drawn elements makes their products instantly recognisable.
Example 2: Halo Top Ice Cream

Halo Top Ice Cream faced the challenge of standing out in a crowded freezer aisle. Their solution? A sleek, minimalist design that highlights the low calorie content of their ice cream. The clear and honest packaging appeals to health-conscious consumers.
Final Tips: Taking Your Food Packaging Design to the Next Level
Staying Updated with Trends
The world of design is always evolving. Keep an eye on the latest trends in food packaging, such as minimalist designs or eco-friendly materials, and incorporate them into your work. But remember, trends come and go – your design must remain true to the brand.
Testing and Revisions
Testing your packaging with real consumers can provide valuable information. Gather feedback and be ready to make changes. Revisions are the key to improving your design.
Showcasing Your Work
Once you’ve completed a design, don’t just store it away. Showcase your work/ portfolio on design platforms like Behance or Dribbble. A well-presented portfolio can attract clients and open up new opportunities.
Conclusion
Effective food packaging design is a mix of creativity and practicality. By learning the basics, planning well, and solving problems, you can create packaging that protects the product and tells a great story. Use the tips in this guide to improve your food packaging design.

